Go to Rusher 2 project homepage
Rusher 2 tutorial list
View Renderer2D example
Example source
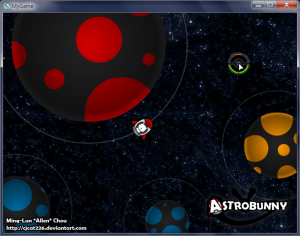
There is a built-in 2D camera-layer-based renderer system in Rusher 2, which is based on the 2D renderer in Rusher and the rendering system in DigiPen ProjectFUN. You have other options than this, however. As you have already seen, you can implement your own 2D renderer like the DisplayObjectUpdater system in previous examples.
Cameras & Layers
The Renderer2D system models the scene as a camera, a HUD (heads-up display), and layers. The HUD is a sprite you can add display objects to that will be displayed on top of the entire scene and will not be distorted whatsoever. This is useful for displaying HUD elements such as character health, timer, and scores. Layers, on the other hand, will be displaced, rotated, scaled according to their relative position to the camera.
The Renderer2D system uses right-handed coordinate system, meaning the positive z axis is pointing into the screen. The camera’s z position would be its negative focal length. Any layer having a z value smaller than the negative focal length would not be visible, since it is “behind” the camera. The position of every layer is updated every frame according to its relative position to the camera, which you may make use of to create a parallax effect. In addition, setting the Layer.usePerspectiveScale property of a layer to true makes it scale according to the perspective projection equation:
//(x, y, z) is the point to be projected
(projectedX, projectedY) = (x, y) * (focalLength / (z - cameraZ));
Continue reading →


